
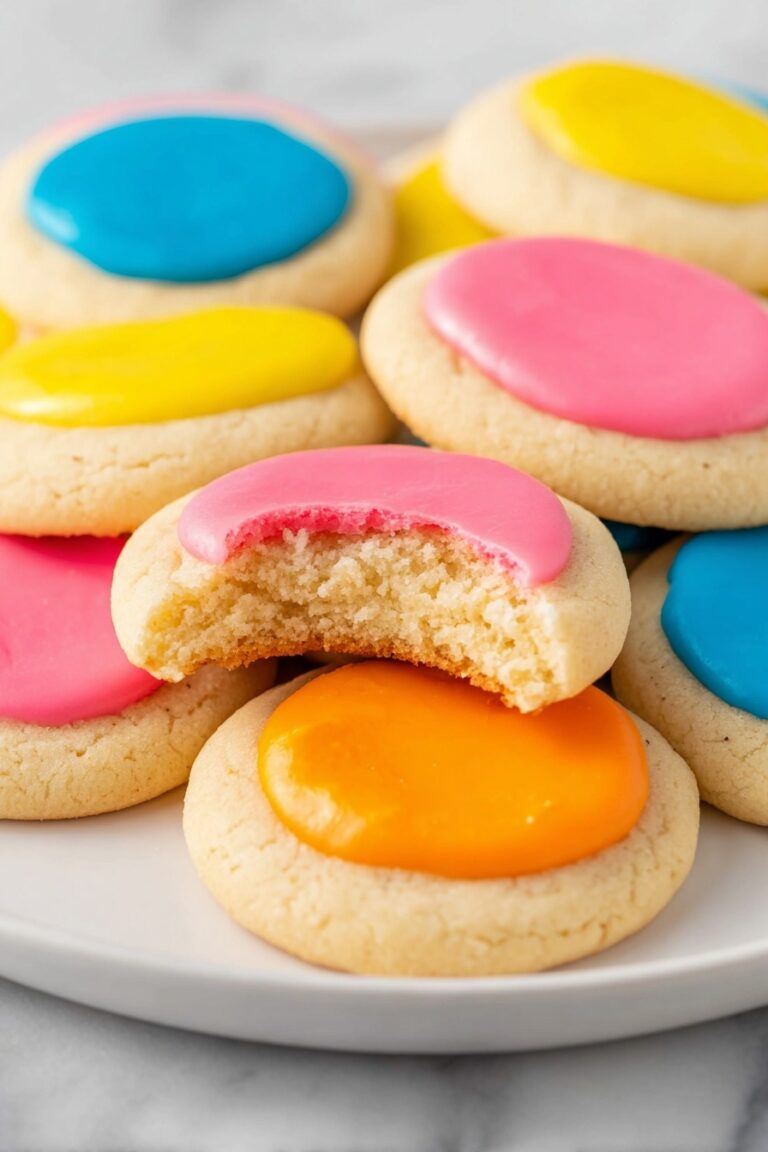
If you’ve ever wondered how to make bakery-quality treats at home, this Red Velvet Macarons with Cream Cheese Filling Recipe is an absolute game-changer. These delicate, chewy macarons with their rich red hue and smooth cream cheese filling aren’t just stunning—they taste divine and will wow anyone lucky enough to get a bite. I’m so excited to share my tried-and-true method with you, complete with little tips that took me a few batches to nail down. Let’s get baking!
Why You’ll Love This Recipe
- Classic Flavor Twist: Red velvet and cream cheese is a match made in heaven that elevates traditional macarons.
- Beginner-Friendly Tips: I’ll walk you through the tricky parts so your macarons come out smooth and flawless.
- Make-Ahead Convenience: These can be assembled a day ahead and refrigerated, making them perfect for parties or gifts.
- Eye-Catching Presentation: Their vibrant red shells with creamy centers are guaranteed to impress on any dessert table.
Ingredients & Why They Work
Getting the ingredients right is crucial to nailing this Red Velvet Macarons with Cream Cheese Filling Recipe. Each component plays a special part—almond flour gives the macarons their signature crunch and chew, while the red gel coloring delivers that dramatic, eye-popping tint without thinning the batter. For the filling, cream cheese pairs beautifully with butter and vanilla to create a luxuriously smooth, tangy frosting.

- Super Fine Almond Flour: Use finely ground almond flour for a smooth macaron shell surface; sifting prevents lumps.
- Confectioners’ Sugar: Adds sweetness and structure while blending effortlessly with dry ingredients.
- Dutch Processed Cocoa Powder: Gives a mild chocolate undertone characteristic of red velvet without bitterness.
- Egg Whites: Room temperature whites whip up into the perfect meringue that forms your shell.
- Super Fine White Sugar: Stabilizes the meringue and adds sweetness; superfine sugar dissolves quicker for smooth peaks.
- Red Gel Food Coloring: Gel colors are concentrated and won’t affect batter consistency.
- Unsalted Butter & Cream Cheese: Base of the filling; softened to room temperature for silky smooth frosting.
- Vanilla Extract: Brightens the cream cheese filling with natural flavor depth.
Note:
Exact ingredients and measurements are listed in the recipe card below.
Make It Your Way
One of my favorite things about this Red Velvet Macarons with Cream Cheese Filling Recipe is how easy it is to tweak for your own taste. Whether you love it a little tangier, want to try different colors, or keep it classic without coloring, there’s room to personalize and still nail perfect macarons.
- Variation: I once swapped out cocoa powder for matcha green tea powder—added a beautiful earthiness and kept the fun of making macarons!
- Diet-Friendly: For a dairy-free twist, try cream cheese alternatives like cashew-based spreads for the filling.
- Seasonal: Around holidays, I dust the shells with edible gold shimmer for a fancy touch that wows everyone.
Step-by-Step: How I Make Red Velvet Macarons with Cream Cheese Filling Recipe
Step 1: Whip Up The Perfect Meringue
Start by beating the egg whites in your stand mixer until they form soft peaks—this usually takes about 2 minutes on low speed. Then, gradually add the superfine white sugar while increasing the speed through medium to high until stiff, glossy peaks form. This part is where your patience really pays off—over or under-whipping can lead to flat shells. A helpful trick is to stop when the meringue holds its shape firmly but is still shiny.
Step 2: Sift and Fold Dry Ingredients
The next step is all about texture. Sift the almond flour, confectioners’ sugar, and cocoa powder together to get a smooth, even mixture without lumps. Then, fold this dry mix gently into your meringue with a rubber spatula. The key here is to find the perfect amount of folding: the batter should flow off the spatula in thick ribbons without breaking. Use the figure-8 test—it’s my go-to method for knowing when to stop folding!
Step 3: Pipe and Rest for That Signature Skin
Transfer the batter to a piping bag fitted with a round tip and pipe small 1 to 1 ½-inch circles onto a silicone baking mat. To get those smooth, flat tops, you’ll want to tap the tray a few times on your countertop to release any air bubbles—if you see bubbles still, gently pop them with a toothpick. Then comes the waiting game: let the shells rest until they form a thin skin on top. This can take anywhere from 8 minutes up to an hour depending on your kitchen’s humidity. A good test? Lightly touch one—if it doesn’t stick, you’re golden.
Step 4: Bake and Cool Thoroughly
Bake your shells at 300°F for 15 to 20 minutes. Keep an eye on them starting at 15 minutes—the tops should be firm and not wobble on their bases. It took me a few tries to perfect timing based on my oven’s quirks, so don’t be afraid to adjust slightly. Once baked, cool the shells completely on the mat before peeling them off to keep that perfect shape intact.
Step 5: Whip Up That Cream Cheese Filling
Softened butter and cream cheese get beaten together until fluffy—this creates that dreamy base for the filling. Slowly add confectioners’ sugar and vanilla then whip again until ultra smooth and spreadable. Pro tip: Keep your cream cheese and butter at room temperature to avoid lumps and achieve that silky texture right away.
Step 6: Assemble and Chill
Pipe the cream cheese frosting onto half of your cooled macaron shells and sandwich together with the remaining shells. Once all are assembled, refrigerate them overnight to allow the flavors to meld beautifully. This step truly makes a difference—you’ll notice the texture becoming tender and the taste more harmonious after resting.
Pro Tips for Making Red Velvet Macarons with Cream Cheese Filling Recipe
- Room Temp Eggs: Always use egg whites at room temperature—they whip better, giving you taller peaks for sturdier shells.
- Humidity Check: Avoid making macarons on very humid days, or use a dehumidifier; moisture affects shell smoothness and drying time.
- Gentle Folding: Folding the batter is an art—too little and the shells crack, too much and they spread flat. Trust the ribbon and figure-8 tests.
- Resting Patience: Don’t rush the drying phase before baking; the “skin” prevents cracking and creates that lovely smooth top.
How to Serve Red Velvet Macarons with Cream Cheese Filling Recipe

Garnishes
I love to sprinkle a teeny pinch of edible red glitter or dust on top of the shells for a little sparkle, especially if serving at a party. Sometimes a small maraschino cherry or a tiny fresh raspberry on the side also adds a pretty, complementary touch without overpowering the delicate flavor.
Side Dishes
These macarons pair beautifully with light beverages like a cup of Earl Grey tea, a creamy cappuccino, or even a glass of sparkling rosé. For a dessert spread, add fresh strawberries or a small bowl of whipped cream alongside to balance sweetness.
Creative Ways to Present
For birthdays or Valentine’s Day, I love arranging these red velvet macarons in a heart shape on a white platter or stacking them inside a pretty glass jar tied with a red ribbon as a thoughtful handmade gift. Layering them in a tiered dessert stand also creates a stunning visual centerpiece.
Make Ahead and Storage
Storing Leftovers
Because of the cream cheese, you’ll want to keep these macarons in an airtight container in the refrigerator. I find they’re best enjoyed within 3 days to keep the shells from becoming too soft and the filling tasting fresh. Before serving, let them sit out for about 15 minutes to reach room temperature for optimal flavor and texture.
Freezing
I’ve frozen these macarons successfully by first chilling them in the fridge, then sealing well in freezer-safe containers. They keep for up to 2-3 months. When ready to eat, just thaw them in the fridge overnight. The cream cheese might separate a little but gentle stirring can bring it back together without losing taste or texture.
Reheating
Since macarons are best served cool or at room temp, reheating isn’t usually necessary. If they feel a bit firm from the fridge, just let them warm up on your counter for 15-20 minutes. Avoid microwaving since that can affect the shell’s texture and make the filling runny.
FAQs
-
Can I substitute the cream cheese filling for a different flavor?
Absolutely! While cream cheese pairs perfectly with red velvet, you can swap it with chocolate ganache, vanilla buttercream, or even a flavored whipped cream filling. Just keep in mind consistency—thicker fillings help keep the macarons intact during assembly and storage.
-
What’s the best way to prevent cracks on macarons?
Patience during the “resting” stage before baking is key. Letting the shells develop a dry “skin” allows them to expand evenly in the oven without cracking. Also, folding your batter correctly and baking at the right temperature helps avoid cracks altogether.
-
Why aren’t my macaron shells smooth?
Rough shells usually mean your dry ingredients weren’t sifted thoroughly or your batter wasn’t folded enough to remove lumps. Both create an uneven surface. Sifting multiple times and folding carefully until the batter flows in ribbons makes all the difference!
-
Can I make these macarons without a stand mixer?
Yes, you can whip the egg whites using a hand mixer, but it might take a little longer to reach stiff peaks. Just be sure to beat evenly and watch the texture closely. The consistency of the meringue is crucial for success.
Final Thoughts
Red Velvet Macarons with Cream Cheese Filling Recipe holds a special place in my kitchen repertoire—comforting yet elegant, and it’s always a crowd-pleaser. If you’ve hesitated before, I hope this guide makes you feel empowered to give macarons a try in your own home. The key is patience and good ingredients, which you now have! Trust me, the smile on someone’s face when they bite into these bright, tender treats is totally worth the effort. Happy baking, friend!
Print
Red Velvet Macarons with Cream Cheese Filling Recipe
- Prep Time: 30 minutes
- Cook Time: 20 minutes
- Total Time: 8 hours 50 minutes
- Yield: 24 macarons
- Category: Dessert
- Method: Baking
- Cuisine: French
Description
A delightful Red Velvet Macarons recipe featuring delicate almond flour shells infused with cocoa and vibrant red gel food coloring, paired with a luscious cream cheese frosting filling. Perfect for special occasions or an elegant treat.
Ingredients
For the macaron shells:
- 140 grams super fine almond flour (about 1 ½ cups)
- 115 grams confectioners’ sugar (about 1 scant cup)
- 8 grams Dutch processed cocoa powder (about 4 teaspoons)
- 100 grams egg whites (about 3 large egg whites), at room temperature
- 110 grams super fine white sugar (about 1 cup + 2 teaspoons)
- 1 tablespoons red gel food coloring (Americolor Super Red recommended)
For the cream cheese frosting:
- ¼ cup (56 grams) unsalted butter, softened
- ¼ cup (60 grams) block cream cheese, softened
- 1 ½ cups (180 grams) confectioners’ sugar
- ¾ teaspoon vanilla extract
Instructions
- Prepare dry ingredients: Using a fine mesh sieve over a large mixing bowl on a scale, sift 140 grams almond flour. Discard any large pieces. Repeat sifting for 115 grams confectioners’ sugar and 8 grams Dutch processed cocoa powder. Whisk the dry ingredients together thoroughly and set aside.
- Whip egg whites: Add 100 grams egg whites to a stand mixer equipped with a whip attachment. Beat on low until soft peaks form (about 2 minutes). Gradually add 110 grams white sugar while increasing speed to medium, then to high until stiff peaks form (about 2 more minutes).
- Add color and combine dry ingredients: Mix in 1 tablespoon red gel food coloring until just combined. Place sieve over the meringue and sift dry ingredients into it. Fold gently using a rubber spatula until batter ribbons off spatula consistently without breaking (figure 8 test).
- Pipe macaron shells: Fit a piping bag with a medium to large round tip (½ inch recommended). Pipe 1 to 1 ½-inch circles onto silicone baking mats on baking sheets. Tap baking sheets firmly against the counter to release air bubbles and use a toothpick to pop any remaining bubbles.
- Rest shells to form skin: Preheat oven to 300°F. Let the piped shells sit at room temperature for 8 minutes up to 1 hour until a dry skin forms; test by lightly touching without batter sticking.
- Bake macarons: Bake shells at 300°F for 20 minutes. Check at 15 minutes and continue baking until tops are firm and bases do not wobble. Allow to cool completely on baking mats before peeling off.
- Make cream cheese frosting: In a mixing bowl, beat ¼ cup softened unsalted butter and ¼ cup softened cream cheese with an electric mixer until fluffy (about 2 minutes). Add 1 ½ cups confectioners’ sugar and ¾ teaspoon vanilla extract; beat until smooth and combined.
- Assemble macarons: Fill a piping bag with frosting fitted with a ½-inch round tip. Pipe frosting onto half of the cooled macaron shells. Gently sandwich with remaining shells. Refrigerate assembled macarons overnight to mature flavors.
Notes
- Storage: Store macarons in an airtight container in the refrigerator for up to 3 days due to dairy in the filling.
- Freezing: Freeze macarons after refrigeration for up to 2-3 months. Thaw in the refrigerator before eating. Slight separation in frosting may occur but is minimal.
- Skin formation: Proper skin formation on shells is crucial to avoid cracking during baking. Patience is key.
- Folding batter: Fold gently to avoid deflating meringue; overmixing can cause flat shells.
- Food coloring: Use gel food coloring for vibrant color without altering batter consistency.
Nutrition
- Calories: 120 kcal
- Sugar: 17 g
- Sodium: 10 mg
- Fat: 5 g
- Saturated Fat: 3 g
- Unsaturated Fat: 1 g
- Trans Fat: 0 g
- Carbohydrates: 18 g
- Fiber: 0.3 g
- Protein: 1 g
- Cholesterol: 15 mg


