
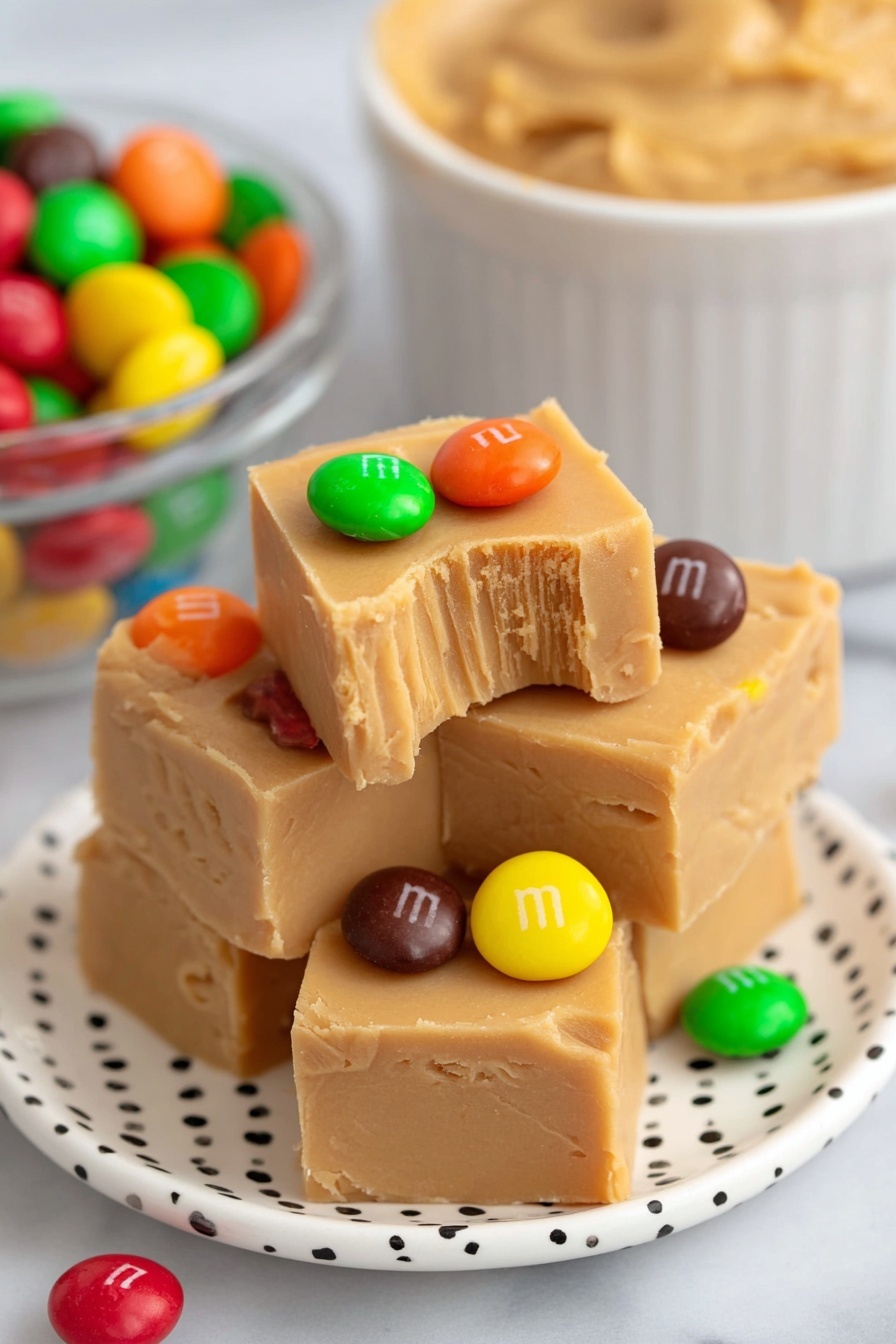
If you’ve been hunting for a ridiculously good sweet treat that’s quick, easy, and downright addictive, you’ve just landed on the right recipe. This Creamy Peanut Butter Fudge Recipe is one of my all-time favorites to whip up when I want a little nostalgic, melt-in-your-mouth magic with minimal fuss. Seriously, once you try this fudge, you’ll be wondering why you ever bought store-bought again—plus, it’s perfect for gifts, parties, or those “I need a treat NOW” moments.
Why You’ll Love This Recipe
- Super Creamy Texture: Thanks to the perfect balance of butter and creamy peanut butter, the fudge literally melts in your mouth.
- Simple & Quick: Just a handful of ingredients and about 10 minutes prep—then chill while you relax.
- Customizable Fun: Easy to throw on some colorful M&M’s or leave plain for a classic vibe.
- Perfect for Any Occasion: From holiday gifts to last-minute dessert, it’s always a crowd-pleaser.
Ingredients & Why They Work
Each ingredient in this Creamy Peanut Butter Fudge Recipe plays a starring role in getting that smooth, rich flavor you crave. The combo’s simple, but trust me—quality and the right type of peanut butter are key to nailing the perfect texture and taste. I always recommend sticking to classic creamy peanut butter, not the natural kind, to guarantee the right sweetness and creaminess.
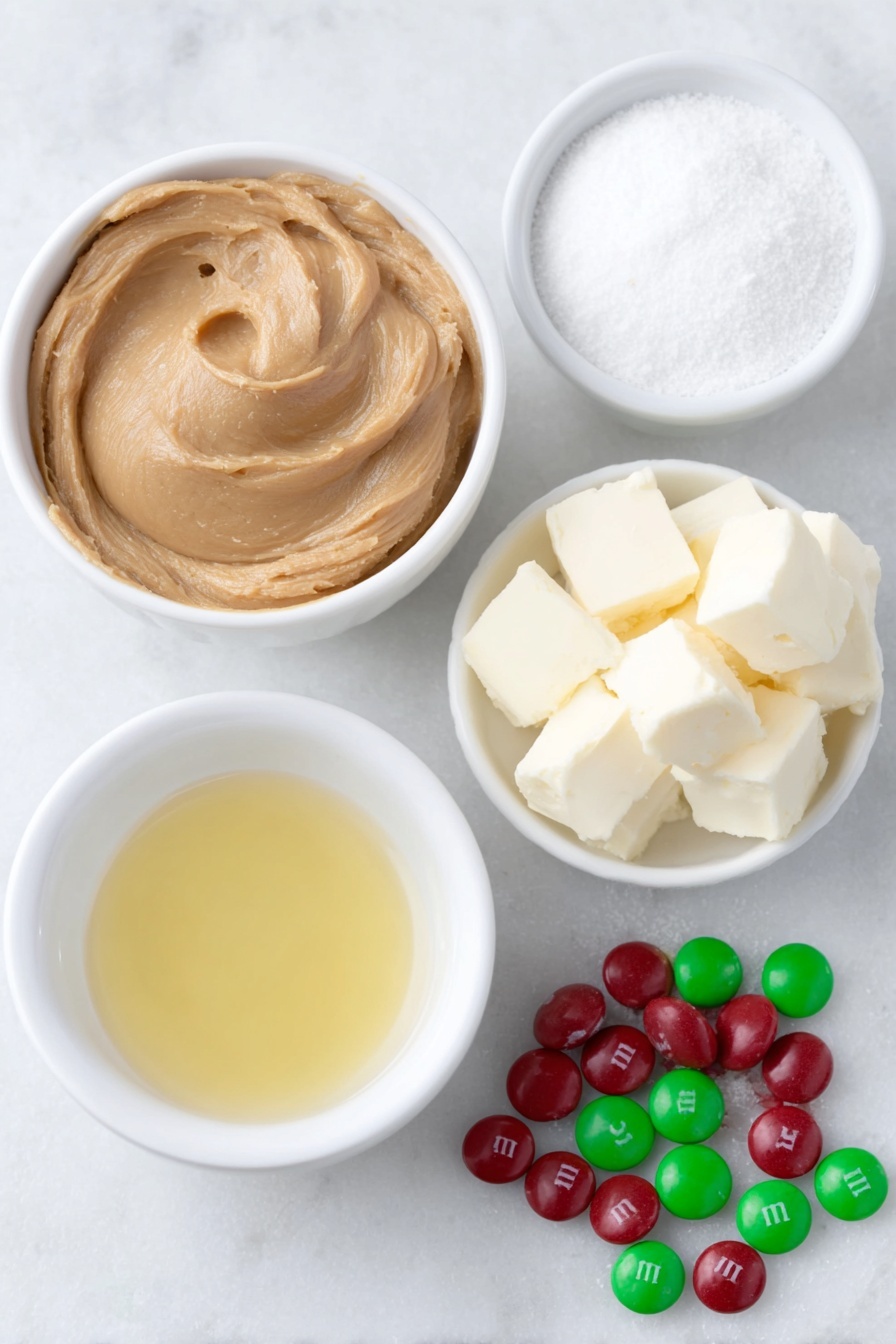
- Unsalted Butter: Adds velvety richness and balances the peanut butter for that melt-in-your-mouth texture.
- Creamy Peanut Butter: Opt for a smooth, no-natural variety to avoid graininess and get that luscious consistency; I’ve found brands like Skippy or JIF usually work great.
- Powdered Sugar: The key sweetener that gives the fudge its signature melt without any gritty sugar crystals—sift for best results.
- Vanilla Extract: Just a little boost to round out the flavors and cut through the richness.
- Water: Used to hold parchment paper in place in the pan—such a simple trick that really makes spreading easier.
- M&M’s (Optional): Adds a fun pop of color and a little crunch if you want, especially around the holidays.
Make It Your Way
I love tweaking this fudge based on the season or who I’m sharing it with. Once I added a sprinkle of flaky sea salt on top just before chilling—mind blown. Don’t be afraid to make this recipe your own by adding your favorite mix-ins or adjusting sweetness levels to your taste. It’s your kitchen, your fudge, after all!
- Mix-ins: I’ve tossed in chopped peanuts for a little crunch or mini chocolate chips for extra indulgence — both are winners in my book.
- Salted Version: A quick sprinkle of flaky sea salt can make the flavors pop, especially if your peanut butter is on the sweeter side.
- Allergy-friendly Swap: If peanut butter’s not your jam, try using almond or sunflower seed butter; results vary but still tasty.
- Change Up the Garnish: For a festive twist, swap M&M’s for chopped pretzels or toffee bits — I’ve done this and loved the salty-sweet combo.
Step-by-Step: How I Make Creamy Peanut Butter Fudge Recipe
Step 1: Prep the Pan Like a Pro
Start by cutting a piece of parchment paper using the bottom of your 8×8 pan as a template—that way, you get a perfect fit for that smooth top. Pour 1 tablespoon of water into the pan before lining it with parchment; this trick keeps the paper from sliding around, so spreading your fudge will be a breeze. Don’t rush this step—it makes cleanup and slicing so much easier later!
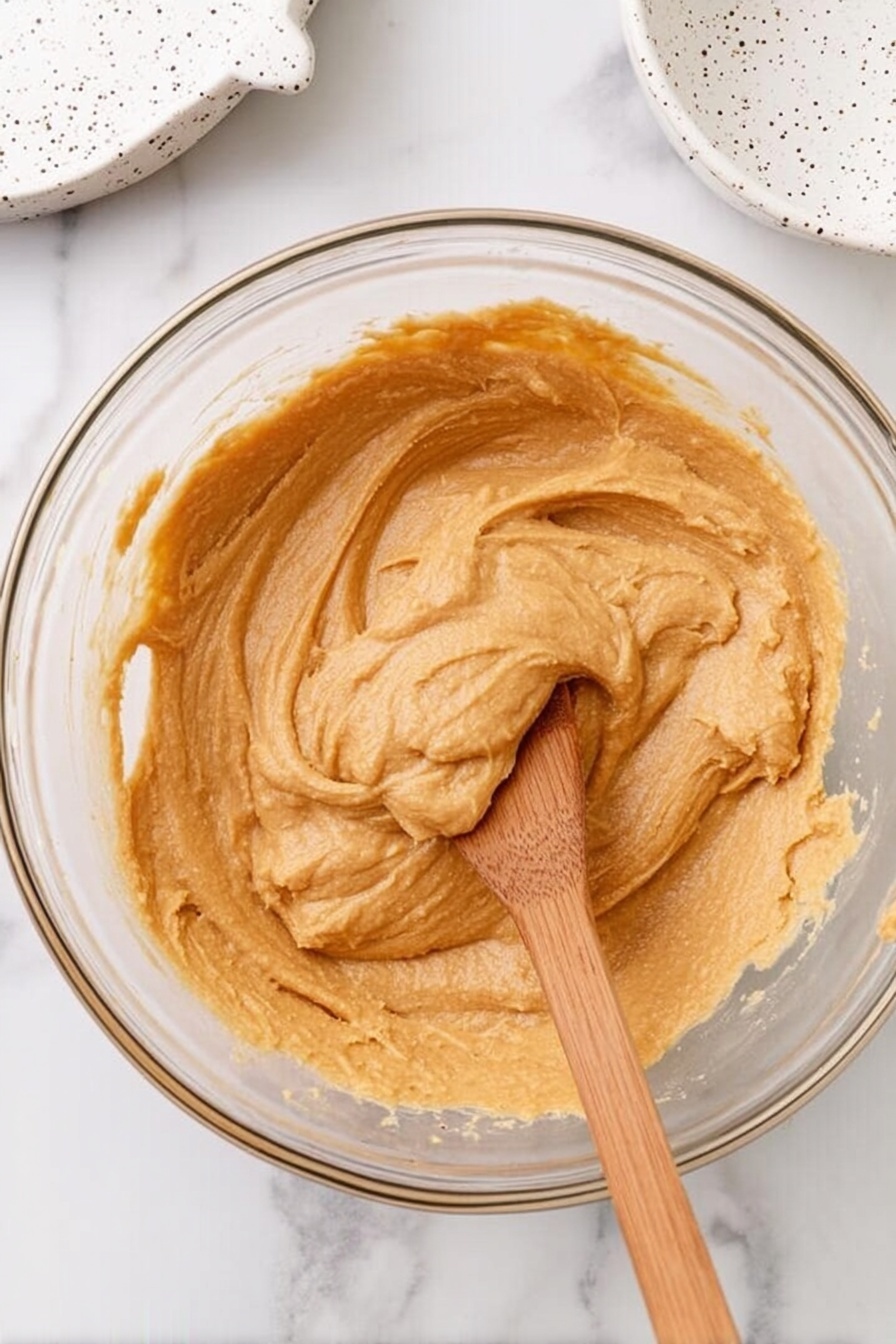
Step 2: Melt Butter and Peanut Butter
In a microwave-safe bowl, combine 1 cup unsalted butter and 1½ cups creamy peanut butter. Heat them together for about 60 seconds—hot but not boiling—then stir it up until smooth. This warm, glossy mix is your fudge base. I like to watch for lumps here and stir those out so every bite is silky smooth.
Step 3: Add Vanilla and Sugar Slowly
Pour in 2 teaspoons pure vanilla extract and give it a good stir. Now the fun begins—add your sifted powdered sugar one cup at a time, stirring well between each addition. This gradual mix keeps the sugar from clumping and helps the mixture get thick enough to set up properly. Don’t get discouraged if it feels stiff after a couple of cups—this is normal! Keep stirring until it looks uniform with no streaks of white sugar.
Step 4: Press, Smooth, and Refrigerate
Pour the fudge mixture into your prepared pan and spread it out evenly with a spatula. Lay that carefully cut parchment piece on top and use it to smooth out the surface—this helps avoid cracks and weird textures on top. Pop the fudge into the fridge for at least 2 hours, and just like magic, it will set into creamy perfection.
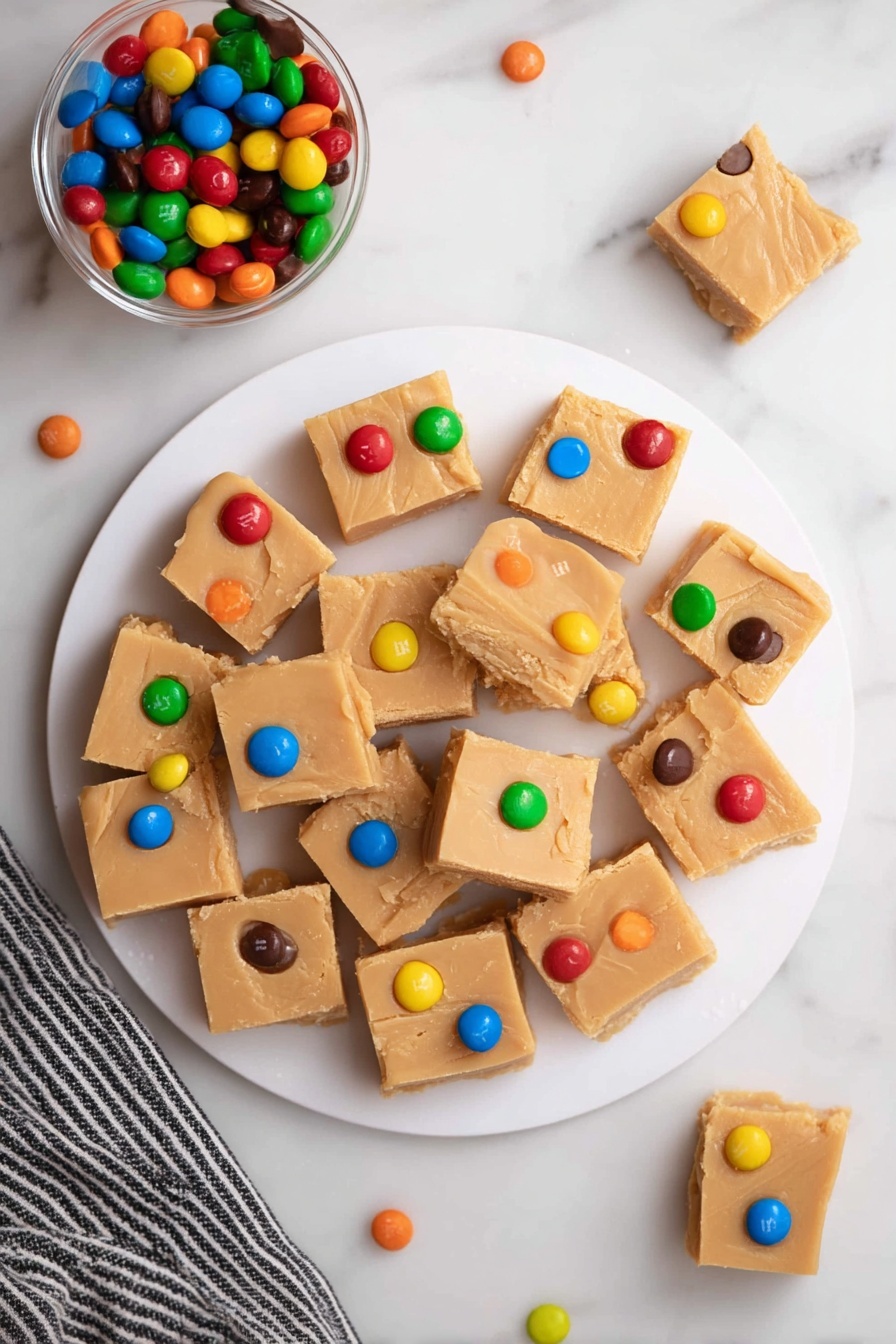
Step 5: Score and Slice to Serve
After chilling, remove the fudge from the fridge and take off the top parchment. Using a sharp knife, gently score your desired piece sizes without cutting fully through the fudge in the pan. Then, lift the fudge with the parchment overhang and set it on a cutting board. Warm your knife blade under hot water, dry it off, and make clean cuts following your score lines. If you’re adding M&M’s, now’s the time to press a few into each square for that colorful flair.
Pro Tips for Making Creamy Peanut Butter Fudge Recipe
- Choosing Your Peanut Butter: I’ve tried a bunch—and brands like Skippy and JIF give a nice balance of sweetness and smoothness; avoid natural varieties unless you want a gritty results.
- Sifting the Powdered Sugar: It might seem like extra work, but sifting definitely helps avoid lumps and ensures an ultra-smooth fudge.
- Knife Care: I learned heating the knife blade under hot water makes slicing the fudge clean and hassle-free—just dry before cutting to avoid sticking.
- Don’t Rush Chilling: Give the fudge a full two hours to set—cutting it too early leads to a messier texture that just won’t hold up.
How to Serve Creamy Peanut Butter Fudge Recipe
Garnishes
I’m a fan of colorful M&M’s to add that cheerful, festive touch—especially around holidays. But I’ve also sprinkled mini chocolate chips, chopped peanuts, or even a pinch of flaky sea salt on top. The salt contrast adds a grown-up twist that balances the sweetness beautifully.
Side Dishes
Because this fudge is pretty rich, I like to serve it alongside light fresh fruit like apple slices or berries. If it’s for a party, pairing with a scoop of vanilla ice cream or coffee enhances the indulgence without overwhelming your palate.
Creative Ways to Present
Once, I placed these fudge squares in mini cupcake liners lined up in a decorative box for a homemade gift that looked so cute and professional. For a party crowd, arrange the pieces on a pretty platter topped with fresh mint leaves and a dusting of powdered sugar—it’s simple but elevates the presentation instantly.
Make Ahead and Storage
Storing Leftovers
I store leftover fudge in an airtight container at room temperature whenever possible—it keeps perfectly for 3-4 days that way. If I’m planning to keep it longer, I pop it in the fridge, where it stays fresh up to a week. I always line the container with parchment or wax paper between layers to keep pieces from sticking together.
Freezing
Freezing fudge works like a charm! I tightly wrap the fudge in plastic wrap, then seal it in an airtight freezer bag for up to 2-3 months. When I’m ready to enjoy, I let the fudge thaw in the sealed bag at room temperature—it softens without drying out.
Reheating
This fudge is best enjoyed chilled or at room temp, so reheating isn’t usually necessary. If you want softer fudge right out of the fridge, just leave it on the counter for 10-15 minutes before serving—this brings back that creamy texture without melting it.
FAQs
-
Can I use natural peanut butter for this fudge?
Natural peanut butter tends to be less creamy and more oily, which can cause your fudge to have a grainy texture and not set properly. For the best results with this creamy peanut butter fudge recipe, stick to classic creamy peanut butters like Skippy or JIF that don’t separate.
-
How long does this fudge keep?
If stored at room temperature in an airtight container, this fudge stays delicious for about 3-4 days. Refrigerated, it can last up to a week. For longer storage, freezing is your friend and keeps it fresh for 2-3 months.
-
Can I add mix-ins to the fudge?
Absolutely! I’ve added chopped peanuts, mini chocolate chips, and even pretzel bits to add texture and flavor. Just fold them in gently before pouring the mixture into the pan to ensure even distribution.
-
What if my fudge is too soft or won’t set?
Make sure to measure your powdered sugar correctly and sift it to avoid lumps that affect texture. Also, chill the fudge for the full 2 hours or longer if needed. Using the right creamy peanut butter brand makes a huge difference, so if it still won’t set, consider switching your peanut butter brand.
Final Thoughts
This Creamy Peanut Butter Fudge Recipe holds a special place in my kitchen heart. It’s simple, forgiving, and results in a classic treat that’s always met with smiles—and sometimes a little happy dance around the fridge. I encourage you to give it a try because honestly, once you taste that luscious, creamy peanut butter goodness, you’ll wonder where this recipe has been all your life. Grab your ingredients, turn on some music, and enjoy the magic of homemade fudge that anyone can master.
Print
Creamy Peanut Butter Fudge Recipe
- Prep Time: 10 minutes
- Cook Time: 0 minutes
- Total Time: 2 hours 10 minutes
- Yield: 64 servings
- Category: Dessert
- Method: No-Cook
- Cuisine: American
Description
This easy and creamy Peanut Butter Fudge recipe combines butter, creamy peanut butter, powdered sugar, and vanilla extract to create a rich and delicious treat. Perfect for holiday gifting or anytime indulgence, this no-bake fudge is simple to prepare and can be decorated with colorful M&M’s for a festive touch.
Ingredients
Main Ingredients
- 1 tablespoon water
- 1 cup unsalted butter
- 1½ cups creamy peanut butter (NOT natural or no-stir varieties)
- 2 teaspoons vanilla extract
- 3¼ cups powdered sugar, sifted
Optional Garnish
- M&M’s for decoration
Instructions
- Prepare the Pan: Using the bottom of the 8×8 baking dish as a guide, cut a piece of parchment paper to fit inside. This will help smooth the fudge and protect it while chilling.
- Line the Pan: Pour 1 tablespoon of water into the bottom of the 8×8 pan to keep the parchment in place. Then line the pan with the parchment paper, making sure there are overhanging edges for easy removal.
- Melt Butter and Peanut Butter: In a medium microwave-safe bowl, combine 1 cup unsalted butter and 1½ cups creamy peanut butter. Heat for 60 seconds, then stir until smooth.
- Add Vanilla: Stir in 2 teaspoons vanilla extract until well combined.
- Add Powdered Sugar: Gradually add 3¼ cups sifted powdered sugar, about 1 cup at a time, stirring thoroughly after each addition until the mixture has no lumps or white streaks.
- Pour Fudge Mixture: Transfer the fudge mixture into the prepared pan. Use a spatula to evenly spread and smooth the top.
- Smooth and Chill: Place the pre-cut parchment paper on top of the fudge and use it to smooth the surface. Leave the parchment on top and refrigerate for 2 hours to set.
- Score the Fudge: After chilling, remove the fudge from the refrigerator and peel off the top parchment. Score the fudge into desired serving sizes using a sharp knife but don’t cut all the way through.
- Remove from Pan: Lift the fudge out of the pan using the overhanging parchment and place it on a cutting board.
- Slice the Fudge: Warm a sharp knife under hot water, dry it, and slice through the scored lines cleanly.
- Decorate: Optionally, place 2-3 red and green M&M’s on top of each fudge piece for a festive look.
- Store Properly: Store fudge in an airtight container at room temperature for 3-4 days or refrigerate up to 1 week. Fudge can also be frozen wrapped tightly for 2-3 months.
Notes
- Use an airtight container to maintain freshness.
- For freezing, wrap fudge in plastic wrap and place in a freezer bag; thaw at room temperature before serving.
- Choose creamy peanut butter brands like Peter Pan, Skippy, Reese’s, or JIF for best results; each affects color and sweetness slightly.
- Adding water to the pan before lining helps keep parchment paper from shifting during spreading.
- Warming the knife before cutting helps achieve clean slices without sticking.
Nutrition
- Calories: 140 kcal
- Sugar: 13g
- Sodium: 30mg
- Fat: 8g
- Saturated Fat: 5g
- Unsaturated Fat: 2g
- Trans Fat: 0g
- Carbohydrates: 15g
- Fiber: 0g
- Protein: 2g
- Cholesterol: 20mg


